Setting Up a New Export
Step 1: Download, install and activate the Facebook Marketplace Export Add On
Step 2: Navigate to 'Property Hive > Settings > Facebook Export' and create a new export by clicking the 'Add New Export' button, selecting the properties you wish to send:
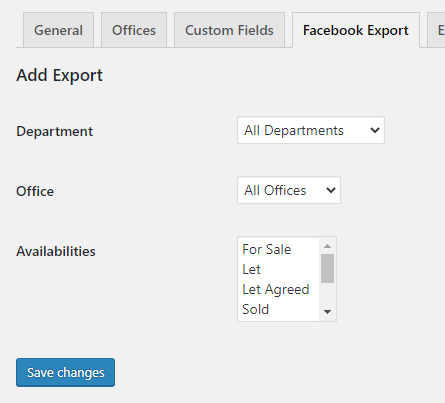
Step 3: Copy the URL shown on the main settings page. We'll need this later on:

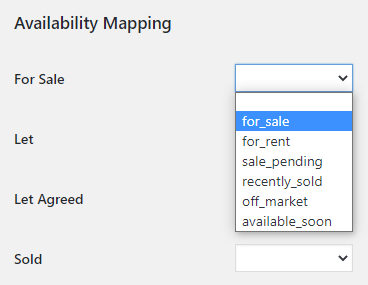
Step 4: Perform any custom field mappings:

For each custom field match the values that Facebook accept on the right to the values you have setup in Property Hive on the left:
Step 5: Navigate to https://www.facebook.com/products/
Step 6: Click 'Create Catalogue':

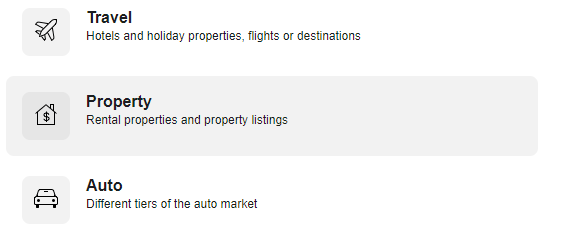
Step 7: Choose 'Property' as the catalogue type and click 'Next':
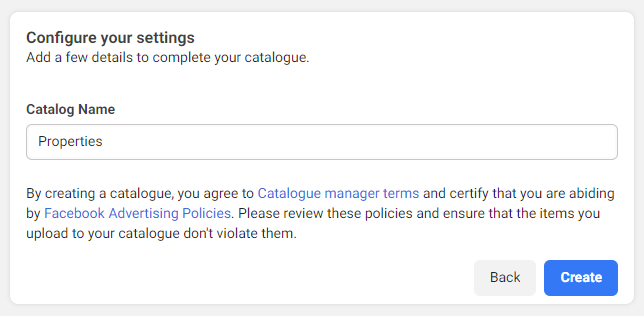
Step 8: Enter a catalogue name. If creating multiple catalogues (i.e. one for sales and one for lettings) enter a name here that will allow you to differentiate between them.
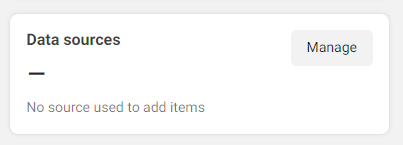
Step 9: Click 'Manage' in the 'Data Sources' section on the right:
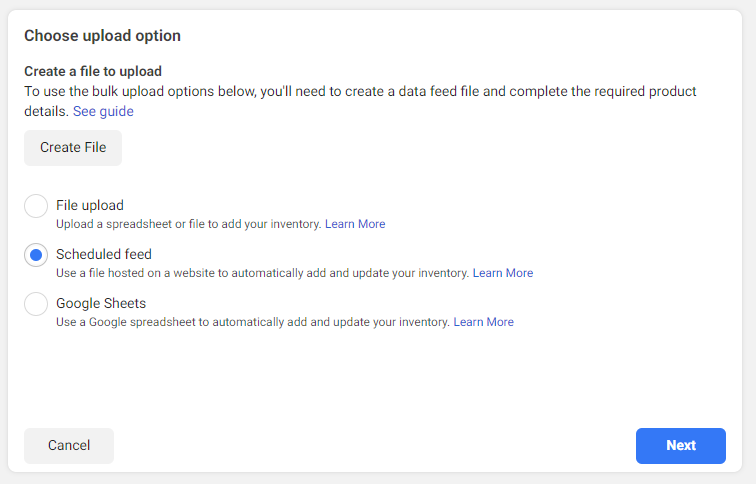
Step 10: Choose 'Scheduled Feed' as the upload type:
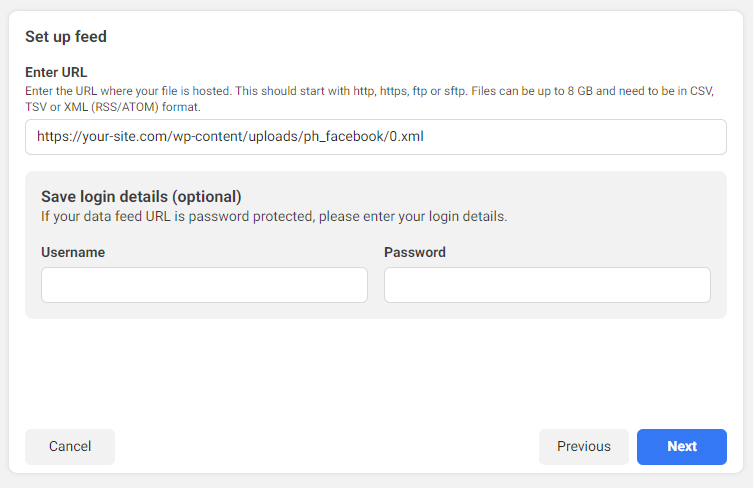
Step 11: Enter the URL copied in step 3 leaving the username and password field blank:
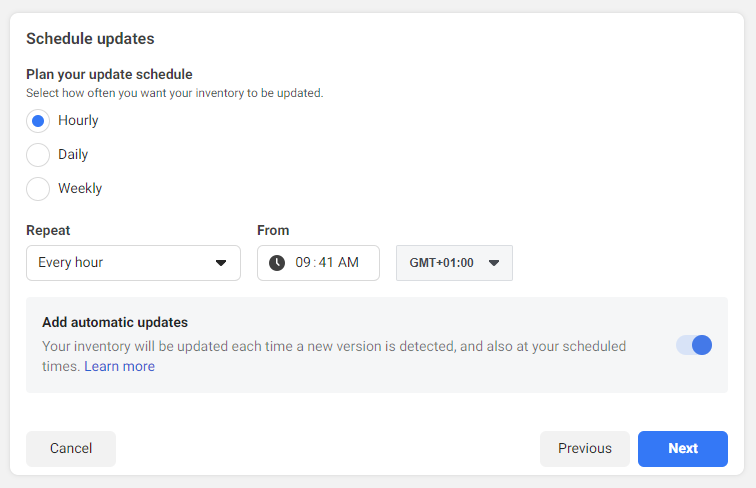
Step 12: Specify how often you want the feeds to run:
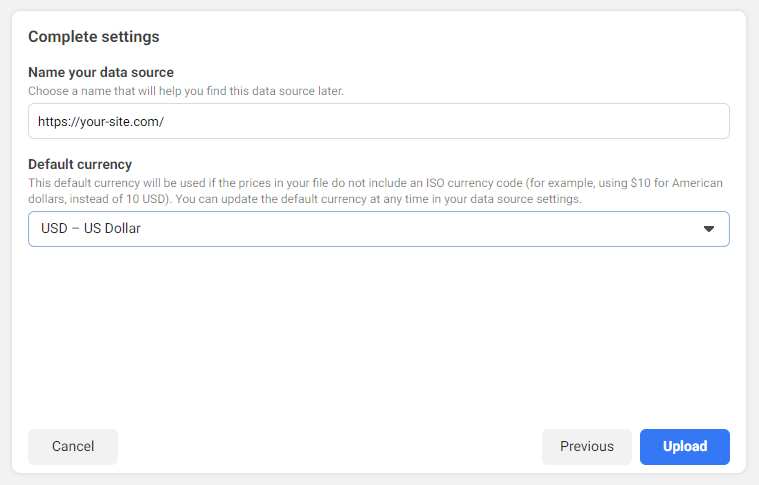
Step 13: Choose the final set of options relating to currency:
Step 14: You export is setup. All that's left to do now is get in touch with Facebook. You will need to email commerce-partnerships@fb.com to ask for Catalog enablement on Marketplace. You will need to specify that you are using Property Hive and send the following information in your e-mail;
– Business ID
– Page ID
– Catalog ID
– Website URL
– Website Privacy Policy URL