Setting up the Microsoft 365 add on
1: Navigate to https://portal.azure.com and login as the Microsoft 365 account administrator.
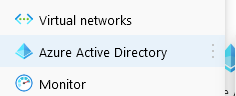
2: From the left menu navigate to 'Azure Active Directory':
3: From the left menu navigate to 'App Registrations':

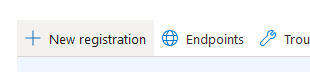
4: Click 'New Registration':
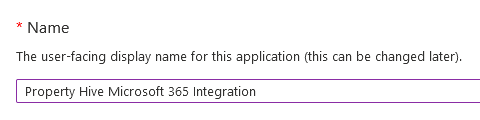
5: Enter a name for your application (this can be anything you like and is only used internally):
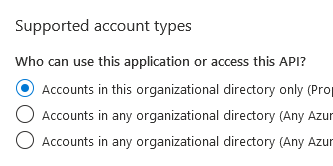
6: For 'Supported account types' leave it as the default first option (Accounts in this organizational directory only)
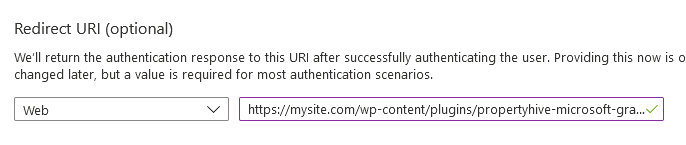
7: The redirect URI can be found in Property Hive under 'Property Hive > Settings > Microsoft Graph':

Copy and paste this accordingly:
8: The Azure application will be created and you will be redirected it's homepage.
Copy the application/client ID and directory/tenant ID's and paste them into the Property Hive settings area.
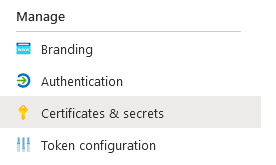
9: From the left menu navigate to 'Certificates & Secrets':
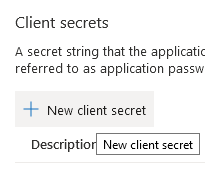
10: Click 'New Client Secret':
11: Enter a name for the secret key and choose 'Never' for the expiry setting:
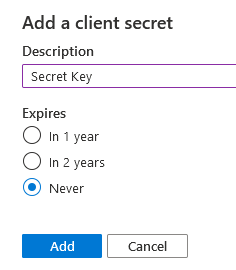
Copy the secret and paste it into the Property Hive settings area.
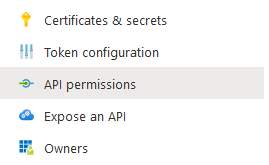
12: Navigate to 'API Permissions' from the left menu:
13: Click 'Add Permissions' and add the permissions seen in the following screenshot:
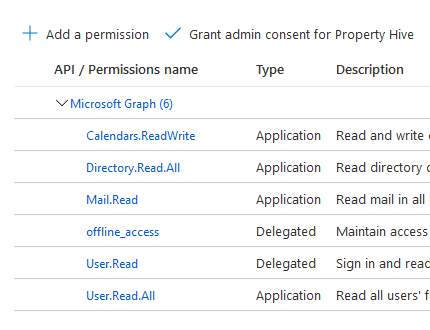
14: Click the 'Grant admin consent' button:

15: Go back to WordPress and with the details now entered and saved from above, click 'Authorize Access'.
If prompted to enter your login details do so accordingly.
16: If all has gone to plan you should now be set up. Emails sent and received from contacts will appear on the 'Notes' area of their record, and any events such as viewings and appraisals will be pushed to our Outlook calendar